You have probably tried to create an online survey for your blog to know what people think about you. You must have used different tools to make a form to collect data, but none provide efficient results. Luckily, Google Form creates flexible forms for you in a lot simple manner. Today in this article, we will teach you how to embed a Google Form in Blogger blog.

Following are some advantages of Google Forms which will help you to know about a couple of points for using and not using Google Forms. Please take few minutes to read them:
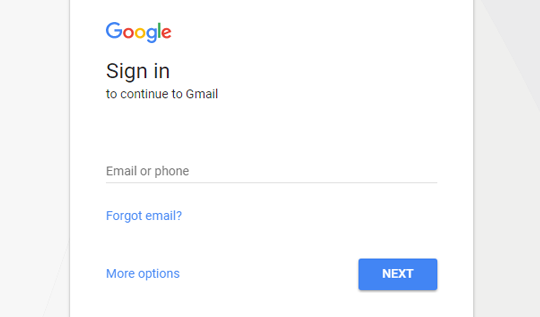
Step#1: For creating Google form, it is must for you to have a Gmail account. It is pretty much fine if you already have a Gmail account. Sign in to your account by adding email and password in the required field.
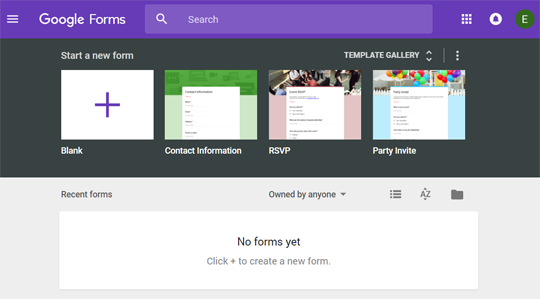
Step#2: After signing in to your account, go to https://www.google.com/forms/ and create a new form. You can either select “Blank" form to build it from scratch, or you can also choose from wide range of template gallery to create a quick form.
Step#3: If you selected “Blank”, you would have to perform following instructions to be able to have a working form:
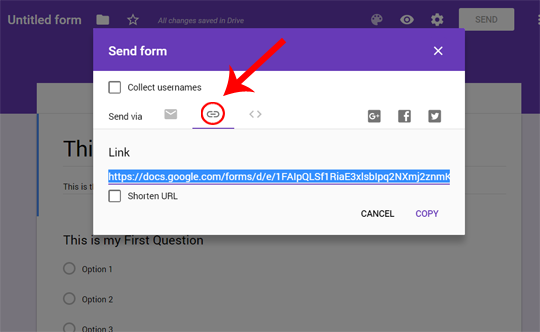
Step#1: Once you think you are done with creating your form, click on the “Send” button located on the top right corner of your screen. A small dialogue box will appear having three options i.e. email, link and Embed. Select “Embed” icon and then copy the iframe code.
Step#2: Secondly, it would be helpful to vary the height and width of the form to fit into your blog. You can change height and width of your form according to your taste.
Step#3: Go to Blogger and open any post that you would like to embed your Google form. After opening the Blogger post editor, switch to HTML tab and paste the code that you copied earlier.
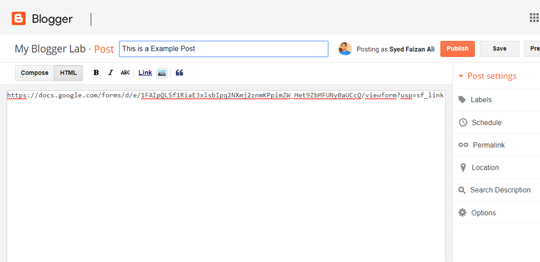 Step#4: Now you can press "Update" button if you are updating an existing post. However, If you are adding your form in a new post then select "Publish" button.
So, you know, it is quite easy and efficient way to create a Google Form and smartly embed in your blogger blog. You do not need to get into lengthy code snippets and hang up with coding errors. All you need is to take a while, discover more features in Google form and play with it. You can make it a fascinating forms for a blog.
What is Google Form?
Google Form is simply a form which contains series of questions that feeds into a spreadsheet when answered. Many organizations and academic societies use Google Forms for different purposes. It is really like a Web Polling Service that allows you to create online polls and surveys for just free of cost and for no time, you can collect your data in a well-mannered way.
Why to Use Google Forms?
Following are some advantages of Google Forms which will help you to know about a couple of points for using and not using Google Forms. Please take few minutes to read them:- Result feeds directly into a spreadsheet.
- You can get email notifications for responses.
- You also have an option to email your answer to yourself.
- Google forms are mobile friendly. You can submit them anywhere, anytime.
How to Easily Create Google Form?
First, you should know how to create Google Form. Please follow the steps below:Step#1: For creating Google form, it is must for you to have a Gmail account. It is pretty much fine if you already have a Gmail account. Sign in to your account by adding email and password in the required field.

Step#2: After signing in to your account, go to https://www.google.com/forms/ and create a new form. You can either select “Blank" form to build it from scratch, or you can also choose from wide range of template gallery to create a quick form.

Step#3: If you selected “Blank”, you would have to perform following instructions to be able to have a working form:
- First, write the name of your form.
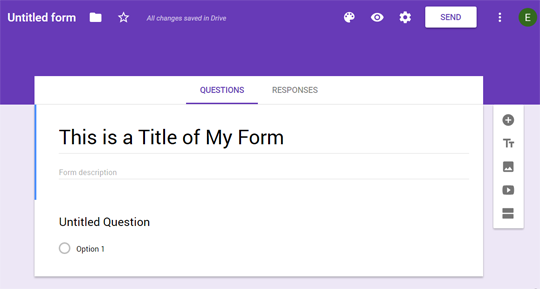
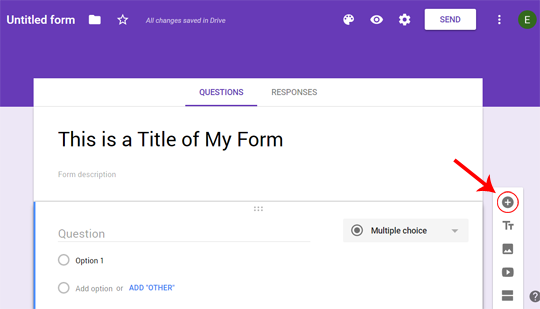
- To add questions to your form, you can click on “Add question” icon located on the right side of your screen. It will insert a blank question to your form.
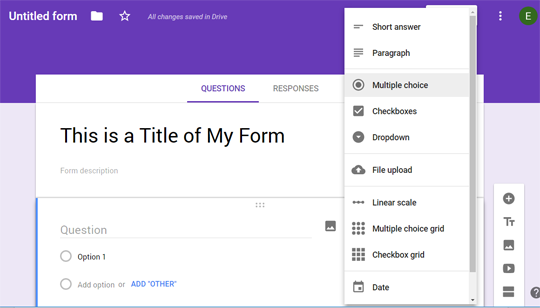
- After adding a question, you can change its type to either multiple choice question, short question, long question, paragraph, more. You can also ask from readers to upload the desired file such as a document to complete the survey. Just, change the question type to “File Upload.”
- You can also add videos, images or even create different sections in your form as per your needs from the right menu.
How to Embed Google Form in Blog?
Let’s see step by step how to embed Google form in a blog.Step#1: Once you think you are done with creating your form, click on the “Send” button located on the top right corner of your screen. A small dialogue box will appear having three options i.e. email, link and Embed. Select “Embed” icon and then copy the iframe code.

Step#2: Secondly, it would be helpful to vary the height and width of the form to fit into your blog. You can change height and width of your form according to your taste.
Step#3: Go to Blogger and open any post that you would like to embed your Google form. After opening the Blogger post editor, switch to HTML tab and paste the code that you copied earlier.

So, you know, it is quite easy and efficient way to create a Google Form and smartly embed in your blogger blog. You do not need to get into lengthy code snippets and hang up with coding errors. All you need is to take a while, discover more features in Google form and play with it. You can make it a fascinating forms for a blog.

Comments
Post a Comment